In our daily lives, injection-molded products are ubiquitous, ranging from small items like phone cases and toy parts to large components such as car bumpers and appliance housings. With advantages like high molding efficiency, consistent product quality, and the ability to customize complex structures, injection molding has become the mainstream process in the field of plastic molding. Many individuals interested in entering the injection molding industry or those with custom plastic part requirements are curious about how a plastic part transforms from a mold into a finished product. Today, let’s break down the complete process of injection molding step by step.
I. Preliminary Preparation: Mold Design and Manufacturing – The Core Foundation of Injection Molding
In injection molding, the mold is the soul. A qualified mold directly determines the shape, precision, and quality of the plastic part, and this step is also the most critical and time-consuming part of the entire process.
Product Design and Analysis
First, the structure, dimensions, wall thickness, draft angle, and other parameters of the plastic part are determined according to customer requirements. During the design process, the feasibility of the injection molding process must be considered. For example, excessive wall thickness should be avoided to prevent shrinkage, a reasonable draft angle should be reserved to facilitate product removal, and an appropriate gate location should be set to ensure uniform filling of the melt.
At the same time, the raw material for the plastic part needs to be determined. Common injection molding materials include PP, ABS, PC, PE, etc. Different materials have varying fluidity, heat resistance, and strength, and the mold design should be adjusted accordingly.
Mold Design and Processing
Mold design engineers create mold drawings based on the product drawings, which include cavities, cores, gates, runners, cooling systems, and ejection systems. The cavity determines the outer surface of the product, while the core determines the inner surface.
After the drawings are confirmed, the mold enters the processing stage. High-quality steel is commonly used as the mold material. Through processes such as CNC machining, electrical discharge machining (EDM), wire cutting, and polishing, the mold steel is processed into a mold that meets the design requirements. After processing, mold trials are conducted to check for any defects, such as flash or weld lines, and to ensure that the product dimensions meet the standards. Only after confirmation can the mold be considered complete.
II. Raw Material Preparation: Drying and Coloring to Ensure Molding Quality
Once the mold is ready, it’s time to prepare the injection molding raw materials. The key here is to bring the raw materials to their optimal molding state.
Raw Material Drying Treatment
Many plastic raw materials, such as ABS and PC, are prone to absorbing moisture from the air. If the raw material has a high moisture content, the water will vaporize at high temperatures during injection molding, leading to defects like bubbles or silver streaking in the product.
Therefore, the raw material needs to be dried in a drying oven before injection molding. The appropriate temperature and time are set according to the material. For example, ABS raw materials are generally dried at 80 – 90°C for 2 – 4 hours.
Raw Material Coloring and Mixing
If the customer requires colored plastic parts, raw material coloring is necessary. Color masterbatches can be directly purchased and mixed with the natural raw material in a certain proportion. Alternatively, color powders can be used for coloring, but care must be taken to ensure even dispersion during mixing to avoid color differences.
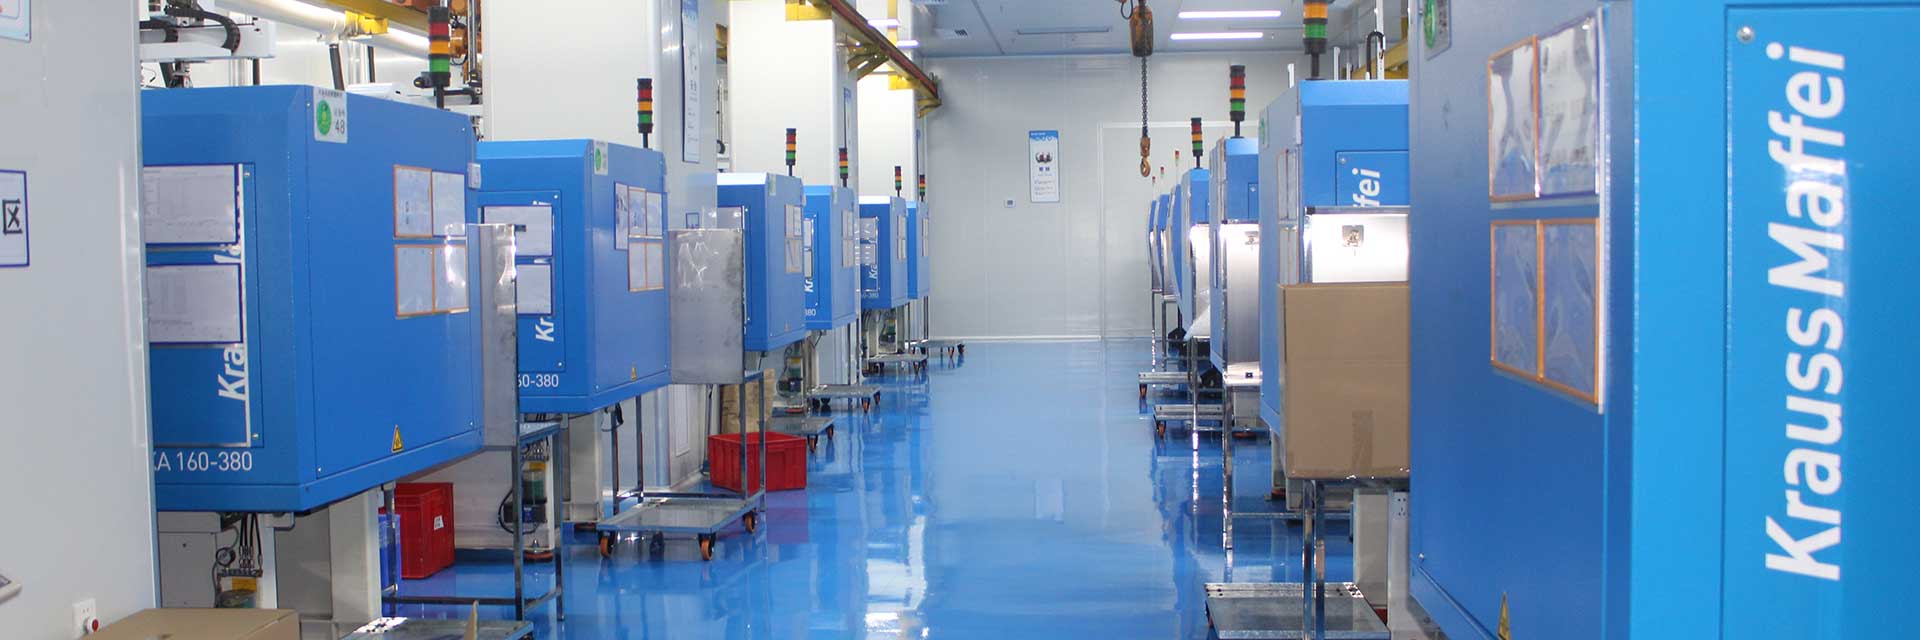
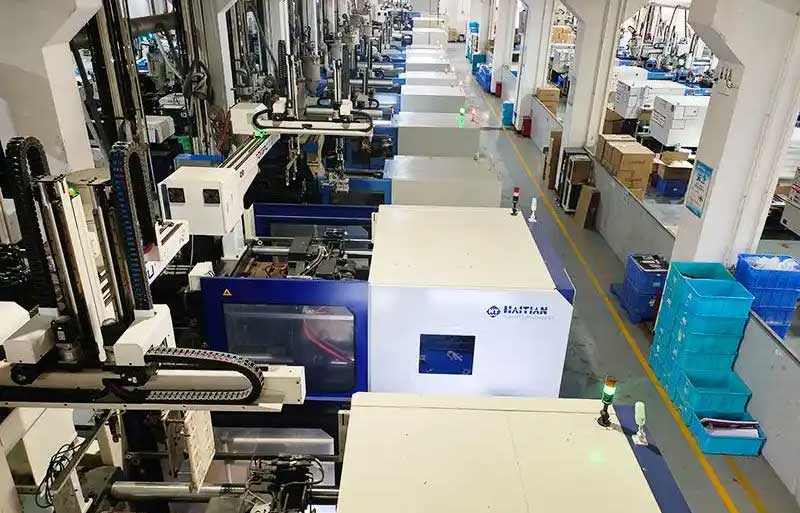
III. Injection Molding: High-Temperature Melting + High-Pressure Filling – The Plastic Part Takes Shape
This is the core process of injection molding, and all the previous preparations serve this step. Injection molding mainly relies on an injection molding machine, and the entire process can be divided into six stages:
Feeding and Plasticization
The prepared raw material is added to the hopper of the injection molding machine. Under the push of the screw, the raw material enters the barrel. The barrel has three heating zones (feeding zone, compression zone, and metering zone) with gradually increasing temperatures from front to back. The raw material is heated and melted in the barrel to form a melt with good fluidity. The rotation of the screw also serves as a stirring function, making the melt temperature and composition more uniform.
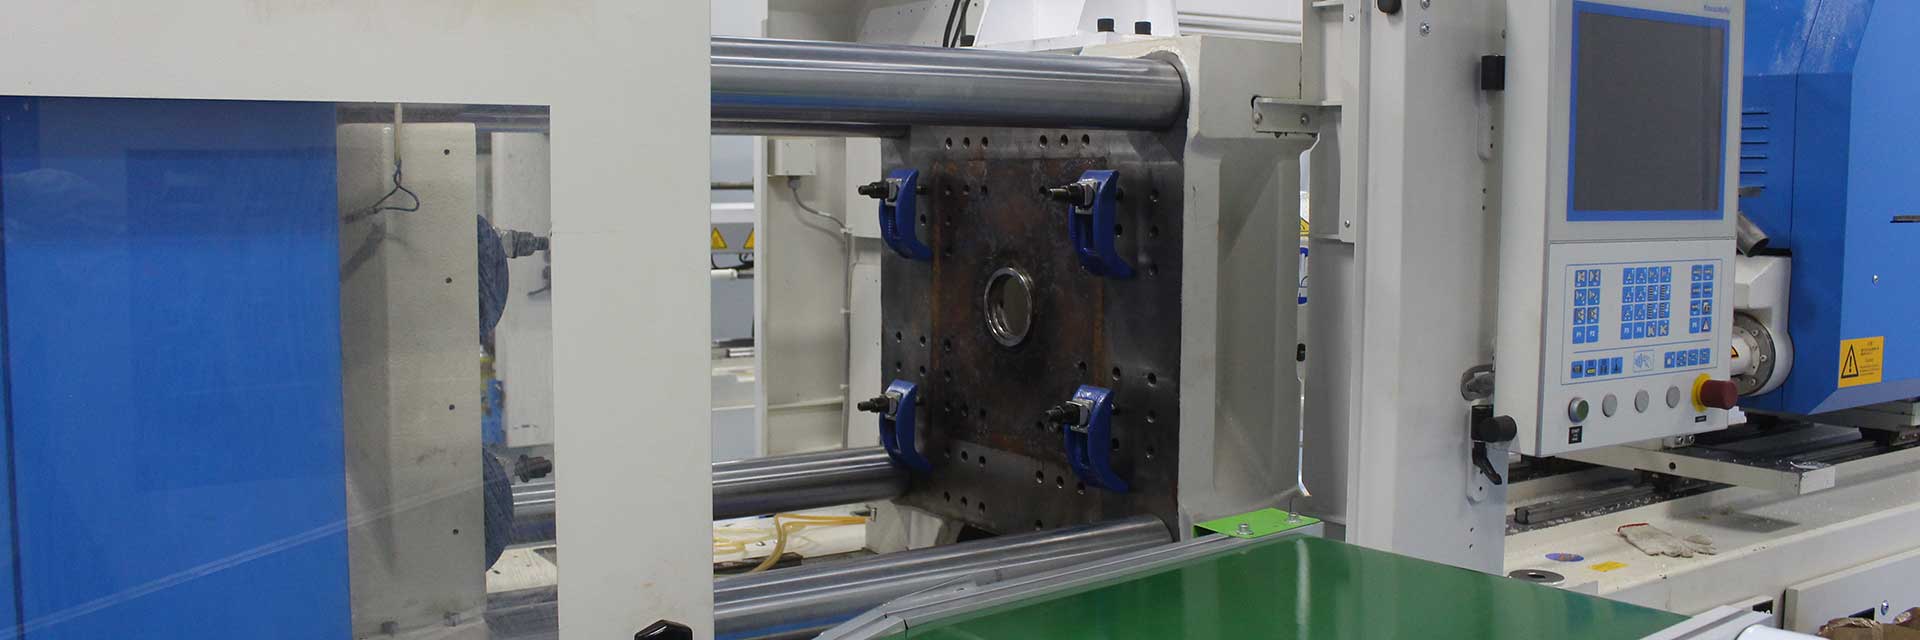
Mold Closing and Locking
The moving mold and the fixed mold of the injection molding machine close, and the mold locking system applies sufficient locking force to prevent the mold from opening due to excessive melt pressure during injection, which would cause flash.
Injection and Packing
The screw of the injection molding machine moves forward, injecting the melt in the barrel into the mold cavity through the gate and runner at high pressure and high speed. After the melt fills the cavity, the screw does not immediately retract but maintains a certain pressure to supplement the melt to the cavity, preventing shrinkage or sink marks in the product during cooling and shrinkage. This process is called packing.
Cooling and Solidification
After packing is completed, the cooling system in the mold starts working. Cooling water circulates in the cooling channels of the mold, carrying away the heat of the melt and allowing the melt to gradually cool and solidify, forming a plastic part shape consistent with the mold cavity. The cooling time must be properly controlled. If it is too short, the product may not be fully solidified and is prone to deformation after ejection. If it is too long, it will reduce production efficiency.
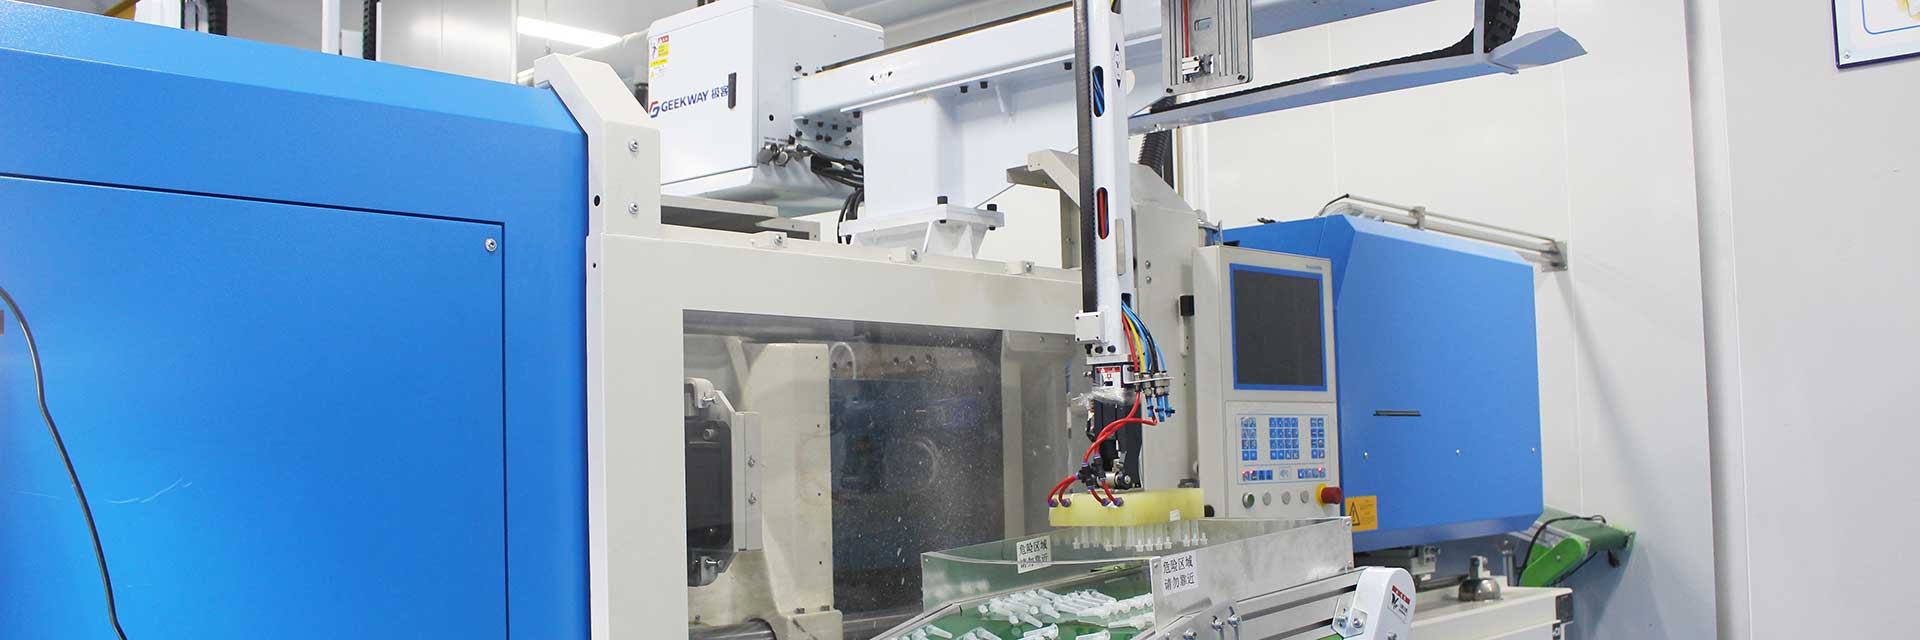
Mold Opening and Ejection
After the product is completely cooled and solidified, the mold locking system of the injection molding machine releases, and the moving mold moves backward, opening the mold. Then, the ejection system of the mold works, and ejector pins push the plastic part off the core, completing one injection molding cycle.
IV. Post-Processing: Trimming and Inspection to Make the Product Perfect
The plastic part just ejected from the mold cannot be directly delivered to the customer. Post-processing is required to improve its appearance and performance.
Trimming and Deburring
The injection-molded product may have gate residues, runner residues, and a small amount of flash. These excess parts need to be trimmed off using scissors, grinding machines, and other tools, and then polished smooth to make the product edges smooth.
Secondary Processing (As Required)
Some plastic parts require secondary processing, such as surface painting, silk screening, or electroplating to enhance their appearance. Or processes like ultrasonic welding, drilling, and assembly may be carried out to meet the customer’s assembly requirements.
Finished Product Inspection
This is the final quality control step. Quality inspectors conduct full or sampling inspections on the products, checking whether the product dimensions meet the drawing requirements, whether there are any appearance defects (such as bubbles, weld lines, color differences, or deformation), and whether the performance meets the standards (such as strength and heat resistance). Only qualified products can proceed to the packaging step, while unqualified products will be picked out for rework or scrapping.
V. Packaging and Delivery: Sorting and Packing to Ensure Safe Arrival
Qualified plastic parts are packaged according to customer requirements. Generally, they are individually wrapped in plastic bags or bubble wrap to prevent scratches and then placed in cartons. Product labels are attached, indicating the product name, specifications, quantity, production date, and other information. Finally, the products are delivered to the customer through logistics transportation.
The above is the complete process of injection molding from mold to finished product. From mold design to final delivery, every step affects the quality and efficiency of the product. For those interested in injection molding, controlling the details of each step is essential to producing high-quality plastic parts.