Vacuum casting is similar to injection molding in that it requires a tool with a cavity with the final shape of the component. The main difference lies in the use of “soft” molds made of silicone for vacuum casting, while “hard” metal molds processed by CNC are used for injection molding. Therefore, the disadvantage of vacuum casting is that the mold wears out faster. However, for small batch prototype plastic components that require production grade quality and surface finish, it is more cost-effective.
The vacuum casting process has three main steps:
Mother mold: In the first step, the mother mold of the final component is made using additive manufacturing technology. Polyjet 3D or Stereolithography (SLA) 3D printing processes are the most commonly used methods because they can produce high-resolution and naturally smooth surface components. The master mold is usually manually completed before creating the mold tool to achieve optimal surface details.
Forming: In the second step, the 3D printing master mold is wrapped in liquid silicone, which solidifies around the master mold and encapsulates all the features of the printing component. When the mold solidifies, cut it into different halves and remove the mother mold or 3D printed components. So as to leave an inner cavity that is exactly the same shape as the component.
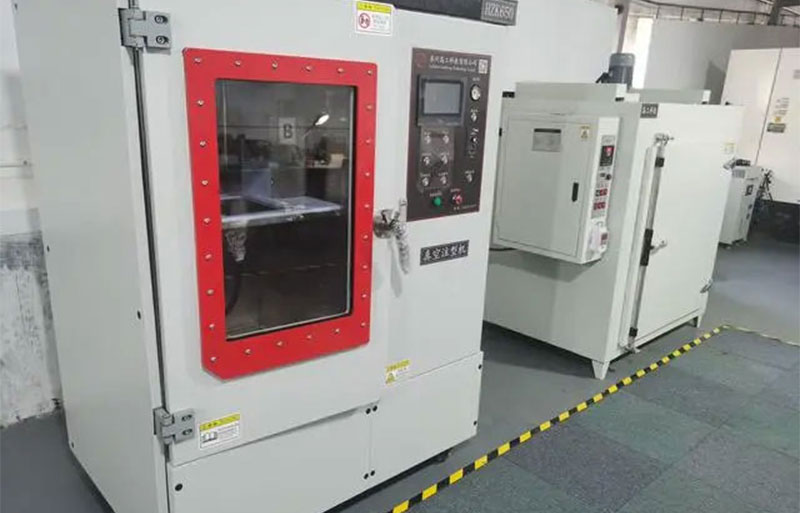
Pouring: In the final step of the vacuum casting process, liquid polyurethane or silicone is poured into the silicone mold, and then the mold is placed in the chamber to help remove bubbles from the liquid material. For opaque components, the chamber is usually pressurized. For transparent components, the chamber is usually vacuumed to reduce bubbles and increase transparency. After curing, separate the silicone gel in half and remove the newly formed part. Repeat this process until the required quantity is reached.

